Getting a table at Olive Garden can sometimes feel like a big adventure—but instead of hunting for treasure, you’re waiting for breadsticks. For many people, the “Olive Garden waitlist” is a helpful tool that cuts down the time spent waiting in line and gives you more time to enjoy soup, salad, and breadsticks. This easy-to-follow guide will walk you through how Olive Garden’s online waitlist works and share useful tips that regular guests often use. Whether it’s your first time visiting and you’re wondering how to join the waitlist, or you’ve been there before and want to spend less time waiting, this guide is for you.
What Is the Olive Garden Waitlist?
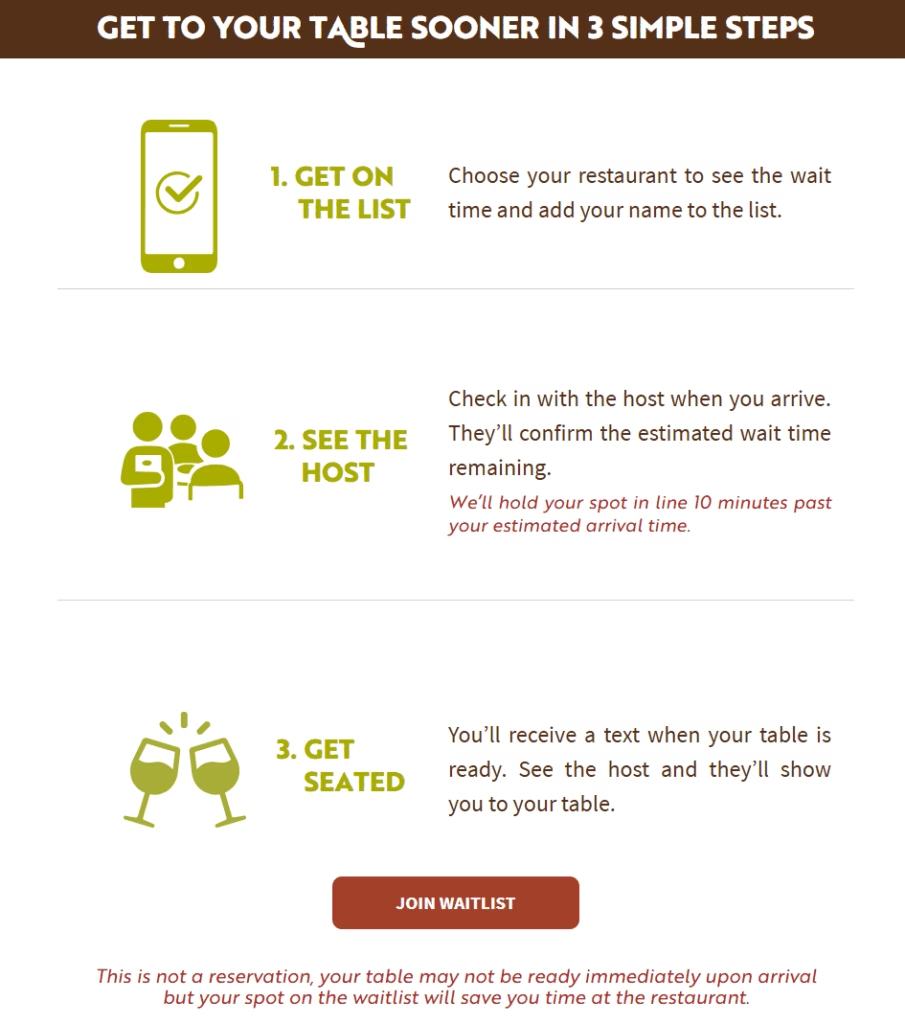
The Olive Garden waitlist is a digital tool designed to streamline seating by allowing guests to add their party to a virtual queue before arriving at the restaurant. Unlike a traditional reservation, the waitlist does not guarantee immediate seating upon arrival, but it does secure your spot in line, potentially reducing in-restaurant wait times by letting you monitor your place remotely. This service is often referred to interchangeably as “call ahead seating” or “virtual waitlist,” though the mechanics remain the same: guests provide party size and contact information, receive an estimated wait time, and are notified via text when their table is ready.
Why Use the Waitlist?
Time Efficiency:
Joining the waitlist online helps you skip long lines at the door, which is especially helpful during busy times like Friday nights or Sunday brunch. Instead of standing around waiting for your name to be called, you can use that time to relax or do other things.
Flexibility:
After you add your name to the list, you’re free to do what you want while you wait. You can walk around, grab a coffee, shop nearby, or even find a good parking spot—without worrying that you’ll lose your place. It gives you more control over your time and makes the wait feel shorter.
Transparency:
The waitlist gives real-time updates, so you know how long the wait really is. This helps you plan better and avoids the surprise of hearing “it’ll be another 45 minutes” after you arrive. You’ll have a better idea of when to head over and check in.
Group Coordination:
If you’re going with family or friends, the waitlist makes it easier to keep everyone on the same page. When the group knows the estimated wait ahead of time, people can arrive at the right moment. It helps avoid confusion or having to explain things over and over at the host stand.
Peace of Mind:
Using the waitlist means you’ve already taken the first step toward getting a table. It gives you a sense of progress and helps you feel more relaxed while you wait, knowing your name is already in the system and you’re not starting from scratch.
Step-by-Step: How to Join the Waitlist
1. Access the Platform:
Start by going to the Olive Garden website or opening their mobile app. You’ll see the “Join Waitlist” button right on the main screen, so it’s easy to find. This is where your waitlist journey begins.
2. Select Your Location:
Type in your city or ZIP code to find the Olive Garden restaurant closest to you. If you’re using your phone, you can also let the app find your location automatically. This makes sure you’re joining the right waitlist for the place you plan to visit.
3. Choose Date and Time:
Pick the day and time you plan to dine. Many Olive Garden locations let you join the waitlist about an hour before you arrive, which is super helpful if you’re heading over soon and want to cut down on wait time.
4. Provide Party Details:
Enter how many people are in your group. You’ll also need to give a phone number or email address so they can send you updates. This helps the restaurant keep you informed about your place in line and when your table is almost ready.
5. Confirm Your Spot:
Double-check that all the information you entered is correct—like the location, time, and group size. Then hit the “Join Waitlist” button. You’ll see a confirmation message on the screen, and you’ll also get a text or email with the details.
6. Monitor Your Status:
You can check your spot in line using the “View Wait List” feature on the app or website. It shows your current place and an estimate of how much longer the wait will be. This way, you’re not left guessing.
7. Check In Upon Arrival:
Try to get to the restaurant on time—within 10 minutes of your estimated arrival window. Once you’re there, go to the host stand and tell them your name. They’ll confirm your spot and seat you as soon as your table is ready.
Call Ahead Seating vs. Reservations
It’s important to understand the difference between call-ahead seating and a reservation—especially when planning a visit to Olive Garden.
Call-Ahead Seating:
This means you call the restaurant ahead of time, let them know how many people are in your group and when you plan to arrive. They’ll add your name to the same digital waitlist used by the app and website. While this doesn’t guarantee a table at a specific time, it helps move you up the line faster once you check in at the restaurant.
Reservations:
Unlike some other sit-down restaurants, Olive Garden doesn’t take traditional reservations. That means you can’t book a table for a set time in advance. This policy helps the restaurant run more smoothly and avoid overbooking. But it also means that using the waitlist—whether online, in-app, or by phone—is your best option for planning ahead.
Pro Tips to Reduce Your Wait
Want to spend less time waiting? Here are some easy tricks to help speed things up:
1. Dine During Slow Times:
Try going during off-peak hours, like between 2:00 and 4:00 PM or on weekday afternoons. These times are usually quieter, so you’ll get seated faster.
2. Keep Your Group Small (If You Can):
Smaller groups—like two to four people—tend to get seated quicker than big parties. If you’re going with a large group, consider splitting into smaller groups and joining the waitlist separately (just check with the restaurant first to see if they can seat you close together).
3. Use the App to Stay Updated:
Keep checking your waitlist status in the Olive Garden app. Refresh it often, especially near your estimated time. Tables can open up quickly if someone cancels or doesn’t show up.
4. Pick a Less Busy Location:
Restaurants in quieter neighborhoods or smaller towns usually have shorter waits than the big-city locations. If you’re willing to drive a little farther, you might get a table a lot faster.
5. Show Up Right On Time:
Try to arrive about 5 minutes before your estimated seating time. This helps you stay in good standing on the waitlist. But don’t come too early—it can get crowded in the lobby, and the host might not be able to help you until it’s your turn.
Frequently Asked Questions
Is the Olive Garden waitlist fee-free?
Yes—joining the waitlist is completely free, and there are no hidden charges for using the service.
Can I join the waitlist for to-go orders?
No. The Olive Garden waitlist is strictly for dine-in experiences. To place a to-go order, use the “Order Now” feature on the app or website.
What happens if I miss my estimated arrival window?
Olive Garden holds your spot on the waitlist for up to 10 minutes past your estimated time. After that, you may be removed from the queue and asked to rejoin.
How accurate are the wait estimates?
Estimates are based on live data but can fluctuate. It’s wise to treat them as approximations rather than guarantees, especially during holidays or major events.
Can I modify my party size after joining?
Yes, you can update your party size by contacting the restaurant directly. Be aware that significant changes may affect your estimated wait time.